Create a Client Portal for an existing prospect
You can enable your clients to view and manage the listings that are
in their Prospect Cart with a Client Portal Web page.
To set up a Client Portal for an existing prospect
- From the
Contacts menu, choose Contacts/Prospects
- Locate the
desired prospect and click their name to access their Modify Contact
Information form.
- Locate the
Prospect Options area, near the bottom of
the page (click
 if necessary to expand the area). NOTE: The Manage as Prospect field must
be enabled for this area to display.
if necessary to expand the area). NOTE: The Manage as Prospect field must
be enabled for this area to display.
- Click the
Client Portal check box.
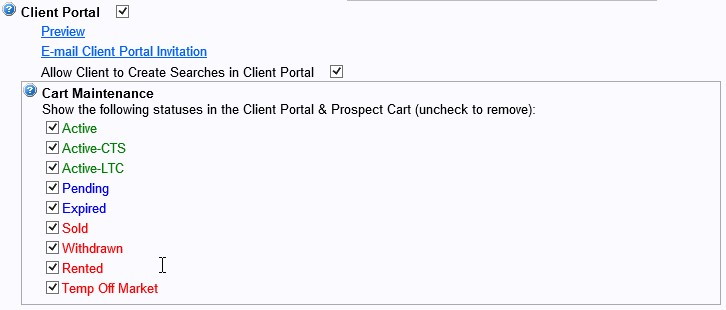
- Check the boxes of any statuses you want displayed in your prospect's Client Portal.
- Click the
Save button in the MLS toolbar.
IMPORTANT: The Preview and E-mail
Client Portal Invitation links do not display until you click Save
in the MLS toolbar.
TIP:  View the video tutorial entitled "Client Portal" on the Learning Center for a quick overview of this feature. The Learning Center can also be accessed directly from the Help menu.
Return to the Home Page
